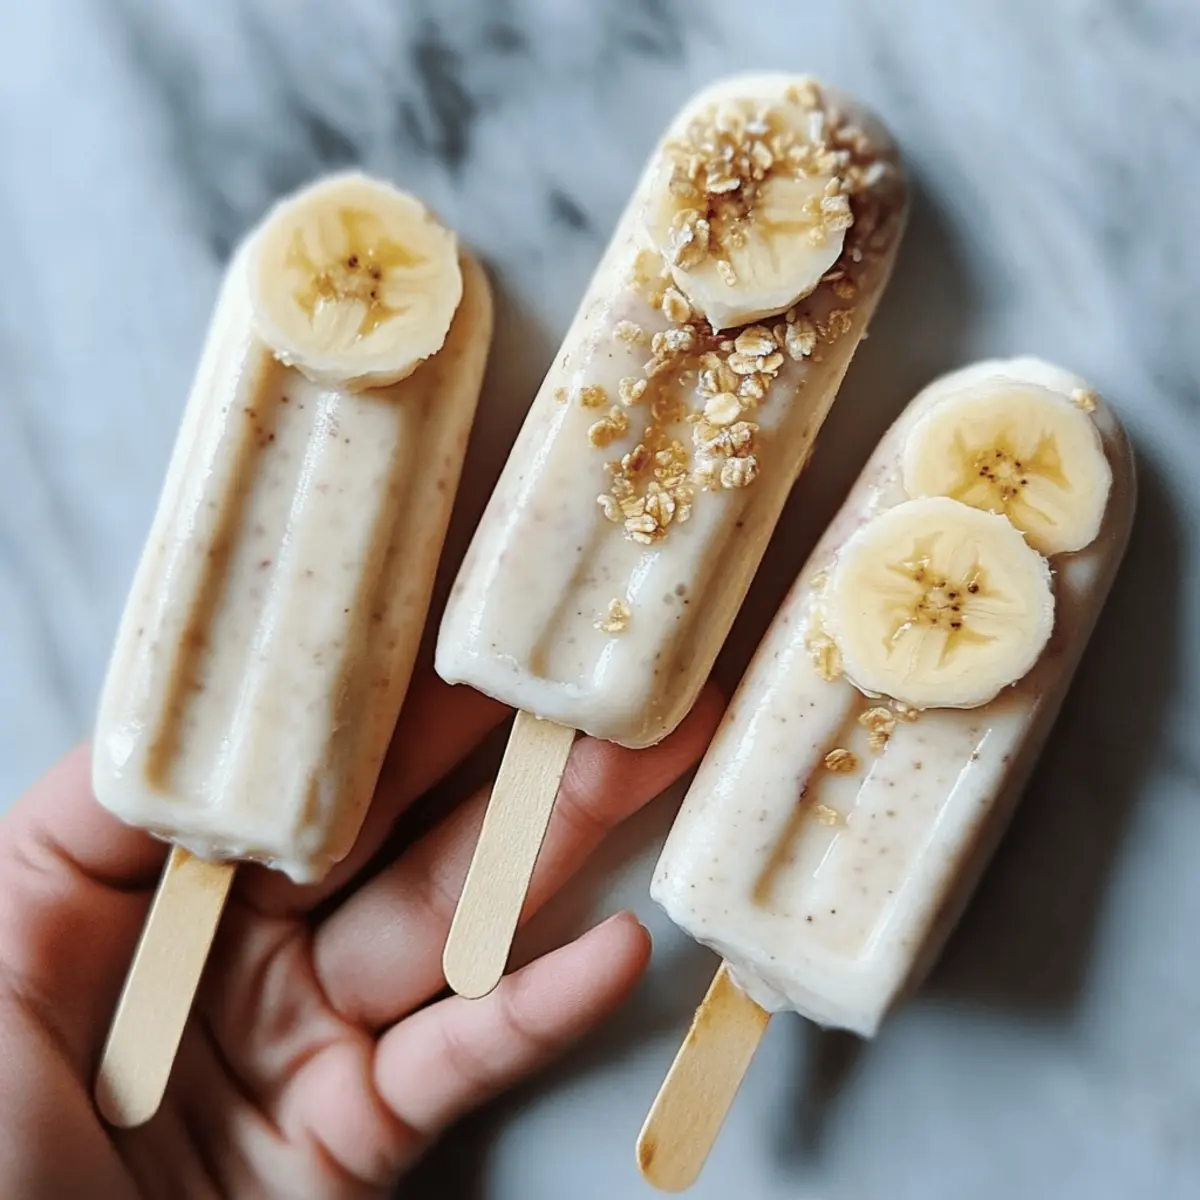
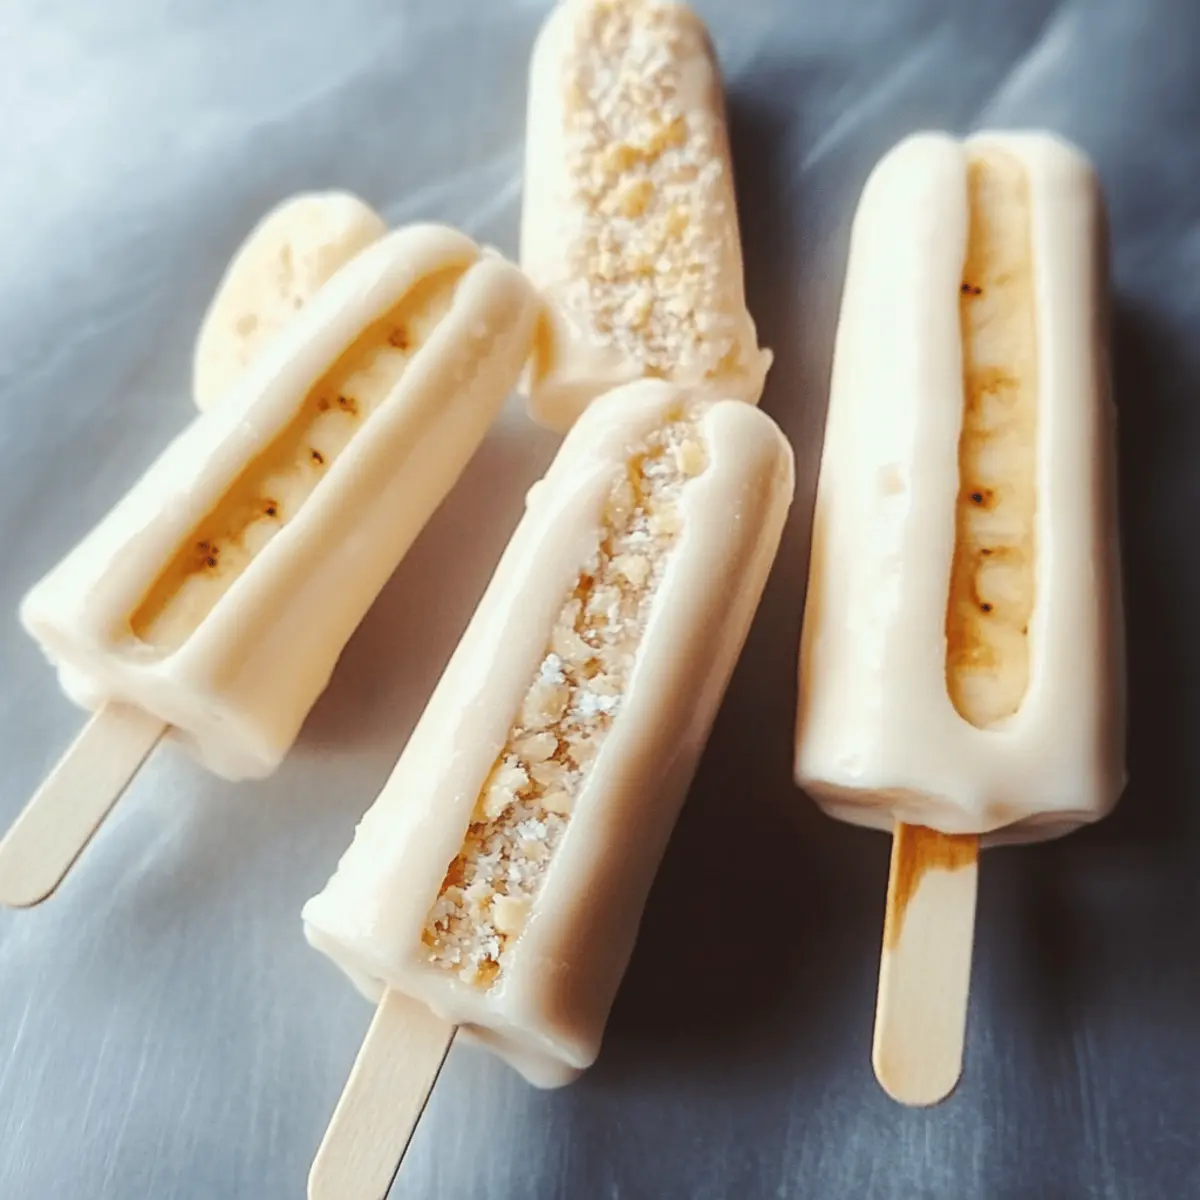
There’s something incredibly satisfying about cool, creamy treats that you can make right in your own kitchen—especially when they involve fresh bananas and tangy yogurt. One afternoon, craving something refreshing yet wholesome, I decided to whip up these Banana Yogurt Pops. Not only are they a breeze to prepare, but they strike the perfect balance between natural sweetness and smooth, velvety texture. Whether you’re chasing down a healthy snack after a long day or looking for a crowd-pleaser that’s naturally guilt-free, these pops deliver on flavor and fun with every bite. Plus, they’re endlessly adaptable, making them a favorite in my fridge all year round.
Why choose Banana Yogurt Pops?
Simple preparation means you can whip these up in minutes with just a few wholesome ingredients. Naturally sweet from ripe bananas, they satisfy cravings without added sugar. Creamy texture from yogurt creates a refreshing, melt-in-your-mouth experience. Versatile flavor lets you customize with nuts, honey, or berries. Plus, they’re a healthy, guilt-free treat the whole family will love anytime!
Banana Yogurt Pops Ingredients
For the Base Mix
- Ripe Bananas – Choose bananas with brown spots for natural sweetness and creamy texture.
- Plain Greek Yogurt – Use full-fat for richness or low-fat for a lighter option.
- Honey – Add a teaspoon to enhance sweetness naturally, balancing the tanginess.
Optional Mix-Ins
- Chopped Nuts – Walnuts or almonds add crunch and a boost of healthy fats.
- Fresh Berries – Blueberries or strawberries bring vibrant color and bursts of fruity flavor.
- Vanilla Extract – A splash enhances aroma and deepens the sweet creaminess.
For Serving and Garnish
- Dark Chocolate Chips – Sprinkle on top before freezing for a delightful surprise.
- Toasted Coconut Flakes – Adds a tropical crunch complementing the cool creaminess.
These Banana Yogurt Pops ingredients offer a simple yet versatile foundation for a refreshingly wholesome snack that’s perfect for any season!
How to Make Banana Yogurt Pops
- Blend Base Mixture: Combine ripe bananas, plain Greek yogurt, and honey in a blender for about 30 seconds until smooth and pale yellow, scraping down sides for a creamy, lump-free texture.
- Stir in Mix-Ins: Gently fold in chopped nuts, fresh berries, or a splash of vanilla extract with a spatula, preserving bright colors and crunchy bites.
- Fill Molds: Spoon the banana-yogurt mix into popsicle molds, leaving a 1/4″ headspace for expansion. Smooth the tops for uniformly shaped pops.
- Freeze: Insert sticks, place molds on a flat tray in the freezer, and chill at 0°F for at least 4 hours or preferably overnight until solid.
- Release Pops: Briefly run molds under warm water for 5–10 seconds to loosen edges, then gently pull out each pop without cracking.
Optional: drizzle melted dark chocolate over pops before the final freeze.
Exact quantities are listed in the recipe card below.
Make Ahead Options
These Banana Yogurt Pops are ideal for meal prep, making your busy days just a little bit easier! You can prepare the banana-yogurt mixture and refrigerate it for up to 3 days before filling your molds. Just blend your ripe bananas, Greek yogurt, and honey (and any mix-ins you love), then store the blend in an airtight container to keep it fresh and prevent browning. When you’re ready to serve, simply spoon the mixture into popsicle molds and freeze for at least 4 hours or overnight. This way, you can enjoy delicious, creamy pops anytime without the last-minute fuss!
Banana Yogurt Pops Variations
Feel free to get creative and make these pops your own by incorporating exciting flavors and textures!
-
Nut-Free: Swap out nuts for a sprinkle of seeds like pumpkin or sunflower for added crunch without allergens. These little seeds pack a nutritional punch!
-
Vegan: Use coconut yogurt and maple syrup instead of Greek yogurt and honey for a plant-based delight. You won’t miss the creaminess one bit!
-
Chocolate Lovers: Blend in cocoa powder or chocolate syrup to the base for a rich, chocolaty twist that will satisfy any sweet tooth. It adds a decadent depth that’s incredibly irresistible.
-
Tropical Breeze: Incorporate diced pineapple or coconut milk into the mix for a vacation-inspired pop that’s bursting with sunny flavors. It brings a slice of paradise right to your freezer!
-
Spicy Kick: Add a pinch of cayenne pepper or a few drops of hot sauce to give your yogurt pops a surprising and thrilling heat. The contrast of sweet and spicy is a game-changer!
-
Berry Blast: Experiment with different berries like raspberries or blackberries for a tart zing that elevates the classic banana flavor. It adds beautiful color and a symphony of fruity taste!
-
Creamy Twist: Fold in cream cheese or mascarpone for an ultra-rich texture that takes your pops to the next level. It creates an indulgent dessert that’s still healthy!
What to Serve with Banana Yogurt Pops?
Looking to build a delightful spread around these cool treats? Pairing them with the right items can turn a simple snack into an irresistible dessert experience.
-
Fresh Berries: Juicy strawberries, raspberries, or blueberries provide a burst of flavor, enhancing the summery vibe of your pops. They also add beautiful color to your table.
-
Granola Clusters: Crunchy granola offers a nice contrast to the creamy pops. Use it as a topping or serve it on the side for an extra layer of texture and flavor.
-
Nut Butter Dipping Sauce: A drizzle of almond or peanut butter creates a rich, nutty complement to the sweet banana yogurt. It’s a fun way to add a bit of indulgence!
-
Fruit Smoothies: Blend up a refreshing smoothie with tropical flavors like pineapple and mango to continue the fruity theme, making your meal feel light and fun.
-
Coconut Whipped Cream: This fluffy topping brings a luxurious feel to your dessert. Its lightness pairs wonderfully with the smoothness of the pops, making every bite melt-in-your-mouth delightful.
-
Chocolate Sprinkles or Chips: For those who love a hint of sweetness, sprinkle some chocolate chips on top or serve them as a garnish. This takes the pops to a whole new level of deliciousness.
-
Iced Herbal Tea: A chilled chamomile or mint tea balances out the sweetness of the pops, providing a refreshing drink option that complements the flavors beautifully.
-
Mini Fruit Skewers: Construct colorful skewers with mixed fruit for an eye-catching and easy-to-eat side that echoes the fruity flavors of your pops.
How to Store and Freeze Banana Yogurt Pops
Fridge: Store leftover Banana Yogurt Pops in an airtight container for up to 3 days. This keeps them chilled and ready to enjoy whenever a sweet craving hits!
Freezer: For longer storage, keep pops frozen in their molds or individually wrapped in plastic film for up to 2 months. This ensures they stay fresh and tasty.
Reheating: There’s no reheating needed for these pops; simply let them sit at room temperature for a few minutes before enjoying a refreshing bite!
Serving Suggestion: For the best texture, consume directly from the freezer, but if they get too hard, let them sit for a moment for easier enjoyment.
Expert Tips for Banana Yogurt Pops
- Choose ripe bananas: Use bananas with brown spots for natural sweetness and creaminess, avoiding underripe ones that make pops less flavorful.
- Blend thoroughly: Blend until smooth to prevent lumps that affect texture in your Banana Yogurt Pops and ensure a creamy finish.
- Don’t overfill molds: Leave headspace in molds to allow the mixture to expand when freezing, preventing cracks or spills.
- Add mix-ins gently: Fold nuts or berries in carefully to keep vibrant colors and satisfying crunch without breaking the pops.
- Use warm water release: Run molds briefly under warm water to release pops easily without breaking or melting their shape.
Easy Banana Yogurt Pops Recipe FAQs
How ripe should the bananas be for the best Banana Yogurt Pops?
I recommend using bananas with plenty of brown spots all over. They’re naturally sweeter and create that creamy texture you want in these pops. Underripe bananas can taste bitter and make the mixture less smooth.
What’s the best way to store leftover Banana Yogurt Pops?
Keep any extras in an airtight container in the fridge for up to 3 days if you want a softer snack. For longer storage, freeze them in their molds or wrap each pop individually with plastic wrap, then place them in a freezer-safe bag to maintain freshness up to 2 months.
Can I freeze Banana Yogurt Pops and still keep them tasty? How?
Absolutely! After filling your molds and inserting sticks, freeze the pops on a flat tray at 0°F (-18°C) for at least 4 hours or overnight. Once fully frozen, pop them out, wrap individually in plastic wrap, and stash them in a freezer-safe container or bag. This method locks in flavor and stops freezer burn.
What if my Banana Yogurt Pops turn icy or lose creaminess?
That usually means either the blend wasn’t smooth enough or the freezer temperature fluctuated. To fix this, blend the base thoroughly until completely smooth and try not to open the freezer frequently while they set. Running warm water gently over the molds before releasing the pops helps keep them crack-free and creamy.
Are Banana Yogurt Pops safe for pets or people with allergies?
These pops are made with dairy and banana, so not suitable for dogs or pets who can’t eat yogurt or banana safely. For allergy considerations, you can swap plain Greek yogurt with a plant-based yogurt and skip nuts if you have tree nut allergies. Always check individual dietary restrictions before sharing!
Easy Banana Yogurt Pops Recipe for a Cool, Creamy Treat
Ingredients
Equipment
Method
- Blend Base Mixture: Combine ripe bananas, plain Greek yogurt, and honey in a blender for about 30 seconds until smooth and pale yellow.
- Stir in Mix-Ins: Gently fold in chopped nuts, fresh berries, or a splash of vanilla extract with a spatula.
- Fill Molds: Spoon the banana-yogurt mix into popsicle molds, leaving a 1/4″ headspace for expansion.
- Freeze: Insert sticks, place molds on a flat tray in the freezer, and chill at 0°F for at least 4 hours or preferably overnight.
- Release Pops: Briefly run molds under warm water for 5–10 seconds to loosen edges, then gently pull out each pop.